REVIEW · SEOUL
DMZ Guided Tour & Suspension Bridge / North Korean Defector
Book on Viator →Operated by Korea Time Tour · Bookable on Viator
Division has a voice you can hear. This DMZ day tour from Seoul pairs major frontier sights—like the Bridge of Freedom area and the 3rd Infiltration Tunnel zone—with a lecture led by a North Korean defector, so the day feels personal instead of purely factual. I like that you’re moving from stop to stop, not just taking a long bus ride, and I especially like how the human stories frame what you’re seeing. The main drawback is that it’s a long, early day with limited wiggle room for lingering.
You’ll also feel the difference in how the day is run. Past groups have praised English-speaking guides such as April and Andrew for answering questions clearly and keeping energy up across multiple stops. Just go in knowing weather matters, and you should be ready for a packed schedule—especially if you want long views from each site.
In This Review
- Key highlights at a glance
- Meeting a North Korean defector: what makes this DMZ day different
- Price and what you actually get for $44.70
- Getting from Seoul to the DMZ: early timing, transfers, and stamina
- Gamaksan Suspension Bridge (optional): nice views, but it adds time
- Imjingak Peace Park: where the symbolism starts
- Bridge of Freedom, Unification Bridge, and the North Korea Experience Hall
- The 3rd Infiltration Tunnel area: expect walking and real weight
- Dora Observatory: the views depend on the sky
- Unification Village: a closing scene with a complicated mood
- Optional replacements and weather-driven changes
- The guide experience: what “good” looks like on this route
- Who this DMZ tour fits best
- Should you book this DMZ tour?
- FAQ
- How long is the DMZ guided tour?
- What does the tour cost?
- Is the North Korean defector part included?
- Which main DMZ sights are visited?
- Is the suspension bridge included?
- What should I know about the 3rd Infiltration Tunnel?
- Are meals included?
- What if weather causes changes?
Key highlights at a glance
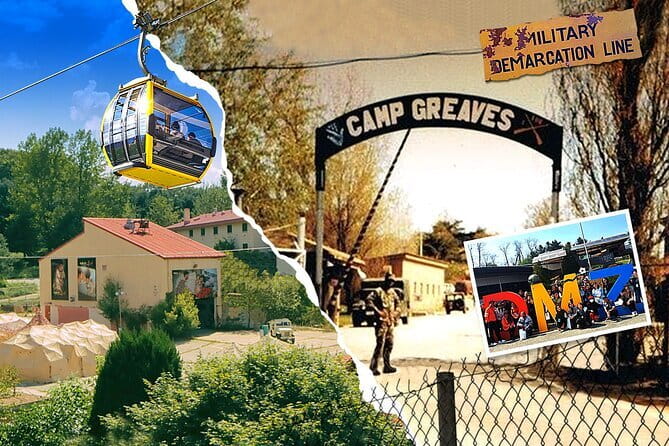
- North Korean defector lecture in the same day: get context for the places you’ll visit
- The core DMZ circuit: Bridge of Freedom, North Korea Experience Hall, Unification Bridge, Dora Observatory, Unification Village
- 3rd Infiltration Tunnel area, with hiking time: plan for walking in and out
- Dora Observatory depends on visibility: clear skies help you see across the border
- Optional Gamaksan Suspension Bridge: adds a scenic stretch to an already full itinerary
Meeting a North Korean defector: what makes this DMZ day different
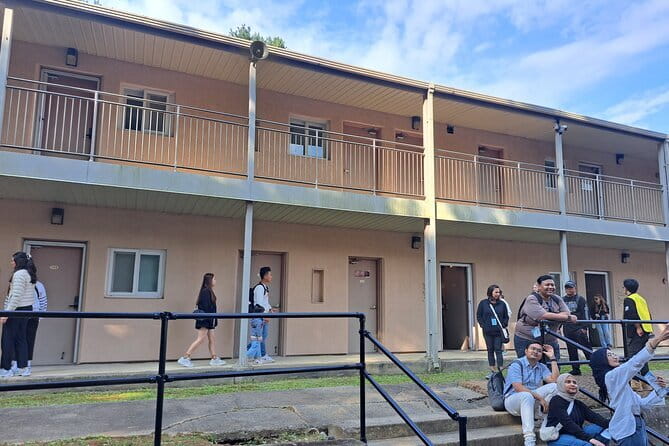
The DMZ can feel like a set of checkpoints and viewpoints—interesting, yes, but also easy to turn into a checklist. What changes that is the lecture portion led by a North Korean defector. Hearing a real personal account in the same day you stand in the DMZ area does something practical: it helps you connect names, distances, and policies to lived consequences.
I also like the way this format works for questions. You’re not trying to guess what you’re looking at. You have a framework for why a bridge matters, why a tunnel matters, and why certain buildings and vantage points are treated as symbolic as well as strategic.
The other smart thing is timing: you’re not just watching from a bus window all day. The route is built around DMZ stops, with multiple points scheduled in one day, so your attention stays on the topic.
Price and what you actually get for $44.70
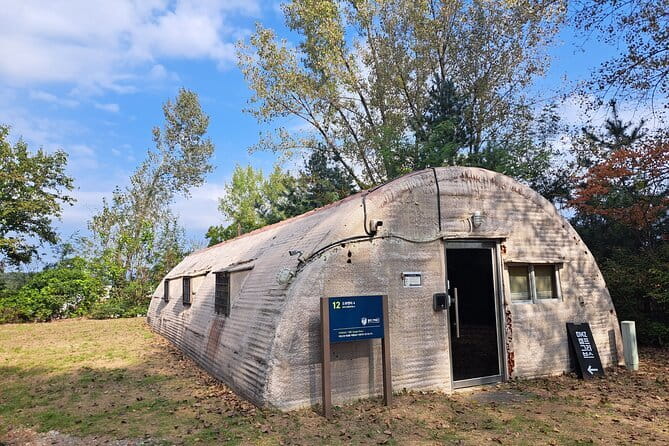
At $44.70 per person, this price is strikingly low for a full-day DMZ program that includes an English-speaking guide, round-trip transfers, and admission tickets. The value is mostly in the package: you’re paying for transportation plus the structured route plus the lecture component, which is typically what costs extra on other DMZ experiences.
The one place to budget separately is food. Meals and beverages are not included, so you’ll want to either eat before pickup or bring money for the day once you’re back to regular Seoul. Also, admission tickets are included for the scheduled attractions, but some optional elements change by what you choose (more on that below).
Getting from Seoul to the DMZ: early timing, transfers, and stamina
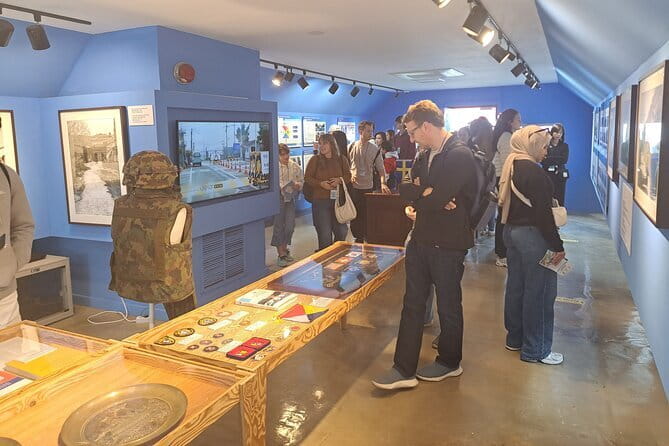
Plan on a long day—about 9 to 10 hours total—with an early pickup. One day run was reported as starting around 6:35 am and finishing around 3:30 pm, which matches the reality of crossing the day’s travel constraints.
You get round-trip transfers and a mobile ticket, so you’re not dealing with a puzzle of public transit on your own. Still, you should treat this like a day hike in disguise. Even if the walking isn’t extreme everywhere, you’ll be on and off vehicles and you’ll likely spend time standing for viewpoints.
One practical tip: arrive 5–10 minutes early at your meeting point. Latecomers are not refunded, and that matters when a schedule is built around crossing time-sensitive boundaries and fixed visiting windows.
Gamaksan Suspension Bridge (optional): nice views, but it adds time
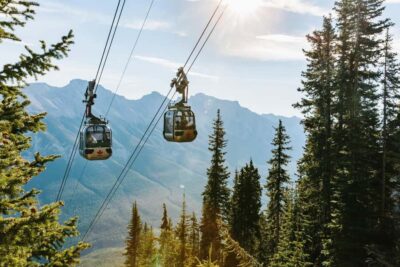
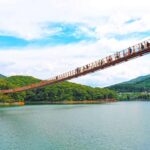
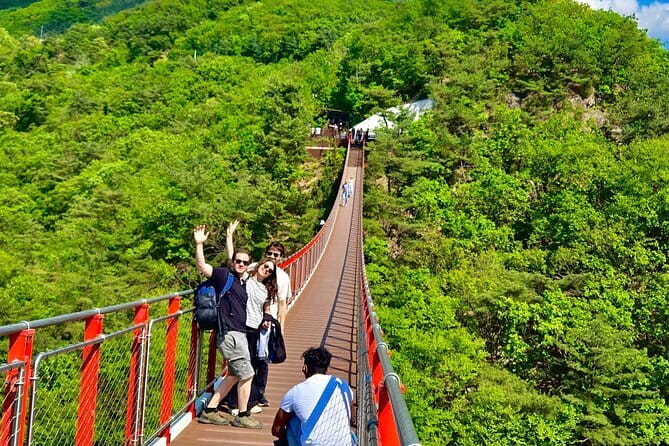
If you pick the option with the suspension bridge, you’ll head to Gamaksan Suspension Bridge early in the day. The bridge stop is about 50 minutes, and the viewing is straightforward: you get a chance to see the coastline-of-the-mind feeling Korea does with mountains and ridgelines—wide angles, clean sightlines, and a short break from the DMZ-heavy theme.
Is it worth it? For many people, yes, because it gives you one moment of scenery that’s not directly about division. It also helps stretch the day before the heavier stops later.
If you skip it, you’re not stuck—your time shifts to other places. That’s useful if your priority is maximizing time at the DMZ sites that have the most impact to you personally.
Imjingak Peace Park: where the symbolism starts

After the first travel leg, the day lands at Imjingak Pyeonghoa-Nuri Park (often associated with Imjingak Peace Park). This is one of the best places to start your DMZ day because it’s a calmer setup than the tunnel-and-observatory vibe you’ll hit later.
What you’ll experience here is part sightseeing and part orientation. Think of it as the “emotional map” of the day: you’re brought into the idea of separation first, then you move outward to the physical structures that represent it.
Also pay attention to your tour option here. This program is designed around DMZ + meeting a North Korean defector, with an additional option if you include the suspension bridge. If you’re the type who likes context before you see the hard-to-process sites, arriving here for the defector lecture framework is a strong approach.
Bridge of Freedom, Unification Bridge, and the North Korea Experience Hall
Once you’re in motion within the DMZ circuit, the day focuses on places tied to passage—literal and symbolic.
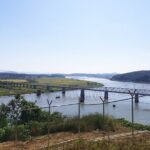
- Bridge of Freedom and Unification Bridge are the kind of stops where your brain starts measuring what you see: distance, angles, and the idea that “crossing” is possible on maps but not in everyday life. Even if you’re not a political-history superfan, these bridges are easy to understand visually, which is why guides tend to emphasize them.
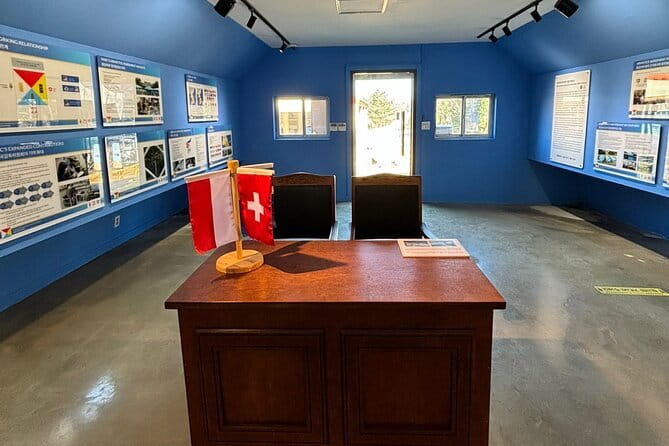
- North Korea Experience Hall gives you a more indoor, interpretive approach. It’s where the day’s message becomes less about what you can photograph and more about what you can understand.
One thing I like about a stop like an experience hall in a DMZ day: it breaks the day into sections. You’re not only standing outdoors in wind and sun; you’re also given space to absorb information at a slower pace.
The 3rd Infiltration Tunnel area: expect walking and real weight
This is the part most people remember because it’s physical. The tunnel area is included in the core DMZ circuit, and the program includes guidance for people who want to engage without pushing past their limits.
Here’s the practical detail you need: going in and out of the 3rd tunnel requires about 30 minutes of hiking. If you have health concerns, you can wait outside of the 3rd tunnel. That’s a big deal because it lets you participate in the day without feeling forced to “tough it out.”
Even with that optional breathing room, treat the tunnel portion as the stamina anchor of your day. Wear shoes you trust. Keep water and snacks in mind for before or after stops (meals aren’t included, so don’t plan on being fed on demand).
Dora Observatory: the views depend on the sky
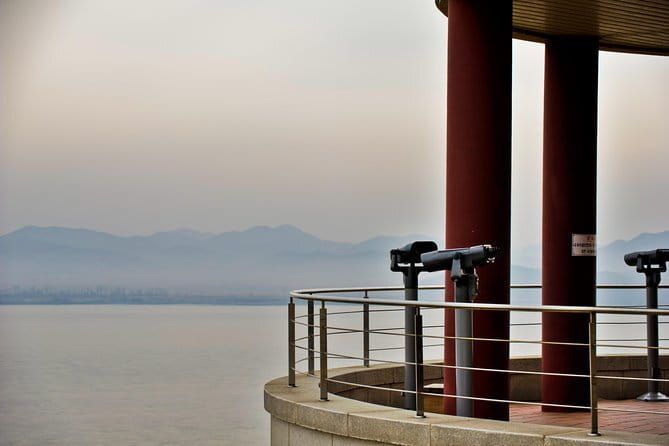
Next up is Dora Observatory. This stop is all about sightlines. If the skies are clear, you can even see North Korea from this viewpoint.
That sentence matters, because it changes your day in a real way. Some DMZ stops are meaningful even without a dramatic sight across the border. Dora Observatory is different: visibility is part of the experience. If clouds roll in, you may still learn a lot, but the “seeing” piece may be limited.
So if you’re going for the view, you can’t control weather—but you can control your attitude. Dress for cooler air, have patience, and use the guide’s framing to make the stop meaningful even when the horizon isn’t as cooperative.
Unification Village: a closing scene with a complicated mood
Later, the route reaches Unification Village. This is the kind of place where you feel the contradiction: the name suggests togetherness, but the reality is separation and uncertainty.
I find this stop important as a bookend. Earlier you’ve been focused on bridges and access points. Here, the day shifts to what life might look like around the edges of the border. Even when the visit feels brief, it sticks in your memory because it turns the topic from infrastructure into everyday possibility and everyday limitation.
Optional replacements and weather-driven changes
DMZ days are famously weather-sensitive and capacity-sensitive. This tour explicitly notes that if certain locations are closed, they may be replaced with other alternatives, and some attractions can be skipped due to capacity issues or weather.
That’s not a flaw in the program; it’s a reality of the DMZ. The practical takeaway: don’t schedule a tight connection right after your tour ends. Give yourself enough buffer time to absorb changes and delays.
Also note: the monorail is unavailable. If you were picturing using a monorail segment as part of your DMZ day planning, this isn’t that kind of setup.
The guide experience: what “good” looks like on this route
Because the schedule is intense, guide quality matters. The praise you’ll find in past group experiences isn’t vague: people mentioned guides like April and Andrew for staying positive, answering questions, and explaining historical events both on the bus and at stops without losing momentum.
Here’s what that means for you. A good guide makes the day easier in two ways:
- You spend less time wondering what you’re looking at.
- You can ask questions without derailing the flow of the itinerary.
If you’re the type who likes to understand before you photograph, this format suits you. And if you’re the type who mostly wants visuals, you still benefit because context makes the visuals land harder.
Who this DMZ tour fits best
This is a strong choice if you:
- want a structured one-day DMZ plan with transportation handled
- care about the emotional and human side, not only the geography
- like having guided context to connect Dora Observatory, bridges, and the tunnel area
- prefer a day where the lecture and the sightseeing happen as one storyline
It may be less ideal if you:
- hate early starts and long days
- want long, quiet time at just one or two locations
- are sensitive to walking time tied to the tunnel area (though you can wait outside if needed)
Should you book this DMZ tour?
If your goal is to experience the DMZ in a way that feels personal—rather than just scenic checkpoints—this is a smart booking. The defector-led lecture is the difference-maker, and the route keeps you connected to the “why” behind each stop. Add in the included guide, admissions, and transfers at this price, and the value is hard to ignore.
My advice is simple: book it if you can handle a long, early day and if you’re okay with weather playing a role in what you can see at Dora Observatory. Skip it only if your priority is leisurely sightseeing over structured context—or if the tunnel hiking time would be a problem for you (in which case waiting outside the tunnel can help, but you still need to match the day’s pace).
FAQ
How long is the DMZ guided tour?
It runs about 9 to 10 hours.
What does the tour cost?
The price is $44.70 per person.
Is the North Korean defector part included?
Yes. The tour includes a lecture led by a North Korean defector as part of the DMZ experience.
Which main DMZ sights are visited?
The main destinations include Bridge of Freedom, North Korea Experience Hall, Unification Bridge, 3rd Infiltration Tunnel, Dora Observatory, and Unification Village.
Is the suspension bridge included?
Gamak Suspension Bridge is optional. If you choose the suspension bridge option, you’ll visit it; if not, your time at other places is longer.
What should I know about the 3rd Infiltration Tunnel?
Going in and out of the 3rd tunnel requires about 30 minutes of hiking. If you have health problems, you can wait outside of the 3rd tunnel.
Are meals included?
No. Meals and beverages are not included.
What if weather causes changes?
The tour requires good weather. If canceled due to poor weather, you’ll be offered a different date or a full refund. Some locations may also be replaced if they are unavailable, and attractions may be skipped due to capacity or weather conditions.